How to Give Our Team Access:
Siteground Access
In order to get shared access on Siteground, the account owner can add us as a Collaborator. They would send this access to grace@identitydental.com:
https://www.siteground.com/kb/can-add-collaborator-website/
This has to be done for each individual domain, and it does not allow us to update payment information for the client.
GoDaddy Access
In order to get shared access on GoDaddy, the account owner can provide us with Delegate Access. They would send this access to social@identitydental.com:
https://www.godaddy.com/help/invite-a-delegate-to-access-my-godaddy-account-12376
Provide us the 'Products, Domains, & Purchase' Access Level.
Google Domains Access
In order to get shared access on Google Domains, the account owner can provide us with Sharing access. They would send this access to social@identitydental.com:
https://support.google.com/domains/answer/7179397?hl=en
Instructions on setting up Siteground:
Purchase your hosting account at https://www.siteground.com/recommended?referrer_id=8281187
-
Scroll down and click "SEE PLANS" below "WordPress Hosting"
-
Under the "GrowBig" plan, click "GET PLAN"
-
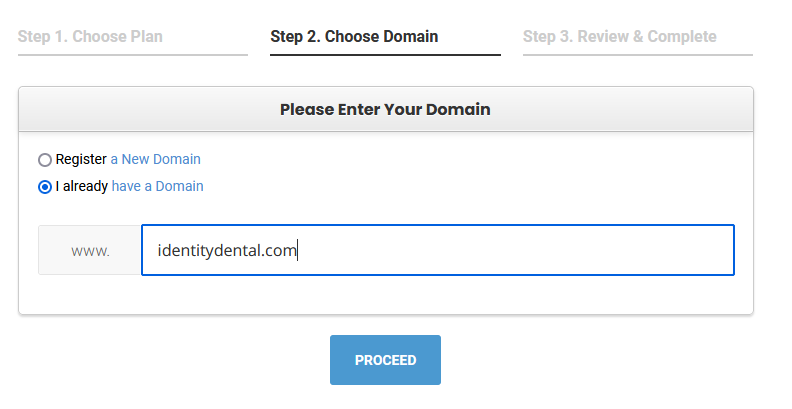
If you already have a domain, click "I already have a domain," and then enter your domain
For example:
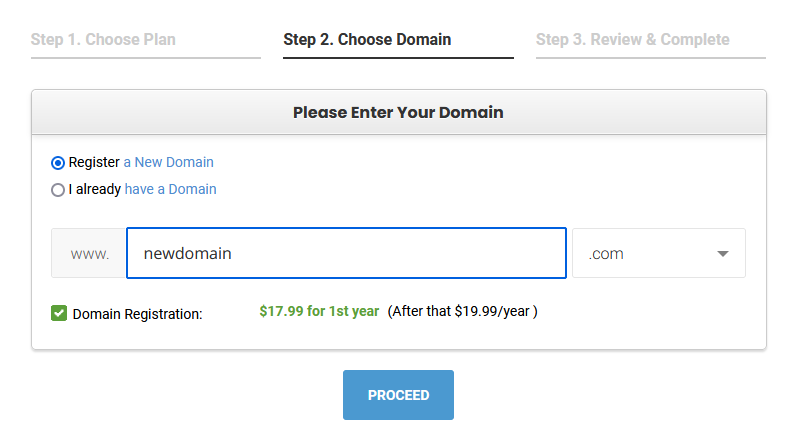
- If you don't already have a domain OR you would like to buy a new domain, click "Register a New Domain"
For example:
-
Enter your registration and payment information Be sure to utilize theowner/doctor’s email address and contact information. This is the official owner of the hosting account. You should utilize an email that is not connected to your domain (i.e. email@gmail.com).
-
Verify your account
-
Once purchasing the account, Siteground might have you complete a series of verification steps. This step does not always appear. If Siteground does not prompt you to verify your account, you can skip this step for now.
-
This may include verifying your email, phone number, and/or a small bank account transaction.
Last Steps:
-
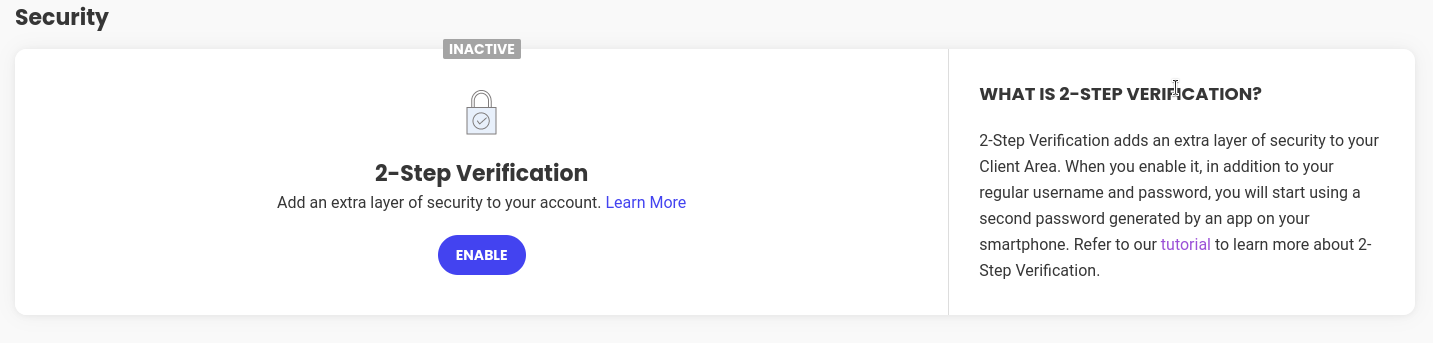
Ensure 2FA is disabled.
-
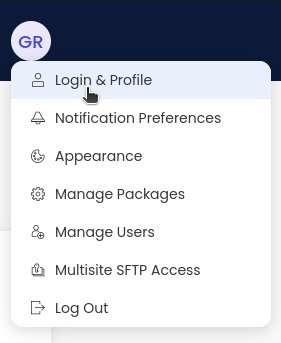
When logged in, click on your avatar in the top right of the screen and select 'Login & Profile'
- Scroll down to the Security section and ensure that 2FA is Inactive
-
Email us the login credentials for your new account.
-
Add our team (grace@identitydental.com) as a delegate user using the following the instructions below:
-
To provide collaborator access, from the ‘Websites’ tab in the navigation bar, click on ‘Finish Site Setup’

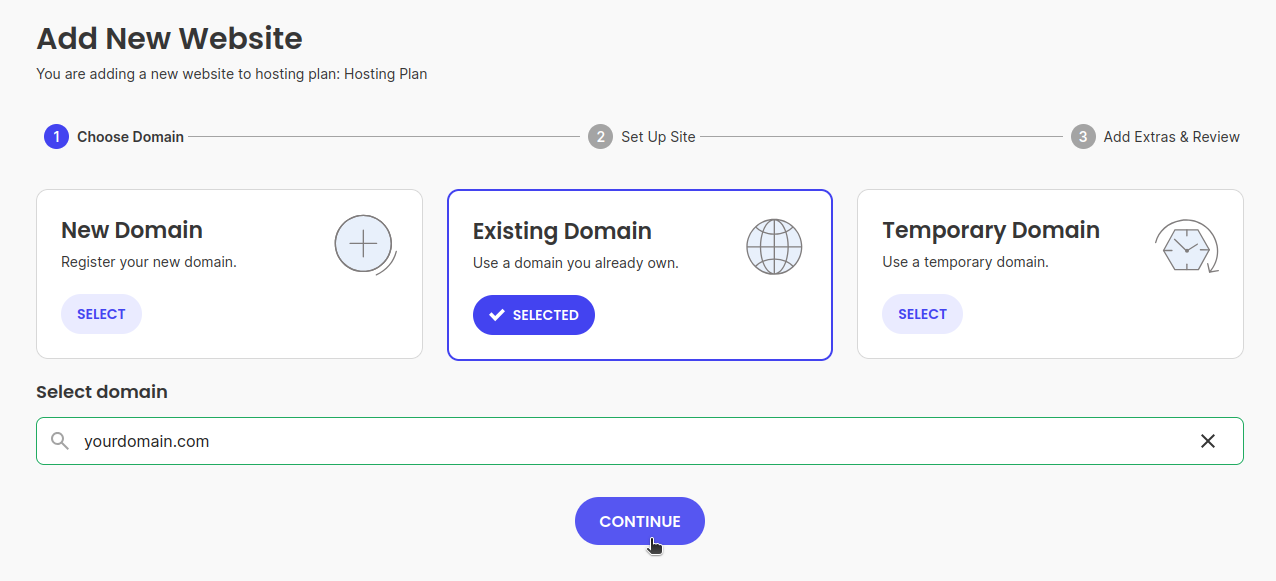
- Make sure ‘Existing Domain’ is selected, and that the correct domain name is selected in the dropdown (this is the domain you will be giving Identity Dental access to), then click ‘Continue’
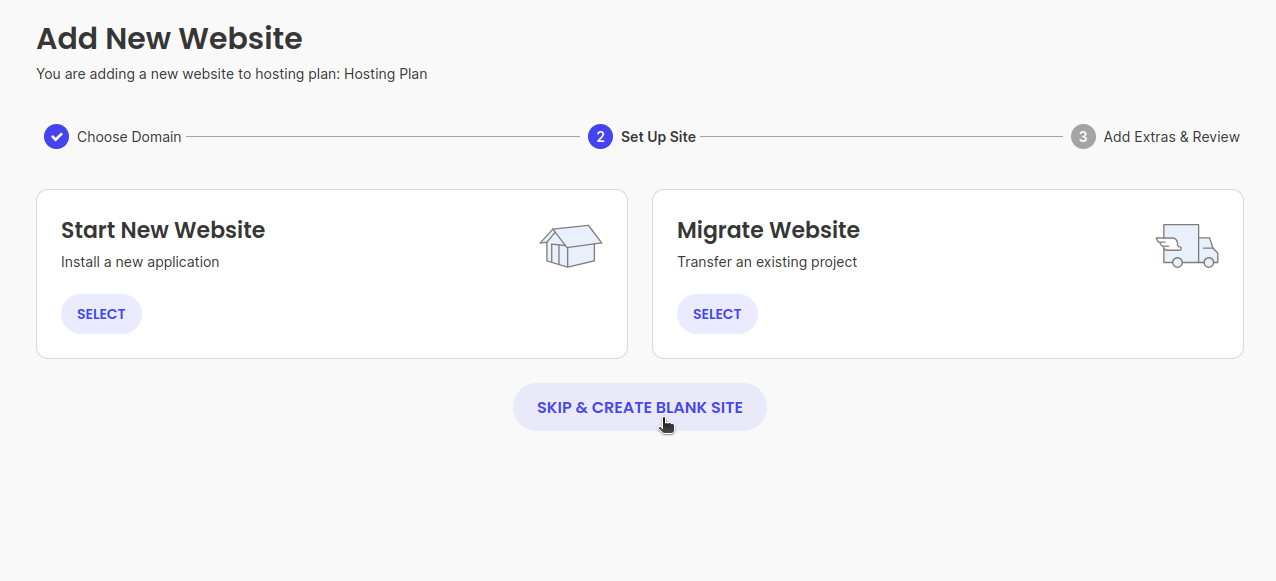
- Next, click ‘Skip & Create Blank Site’
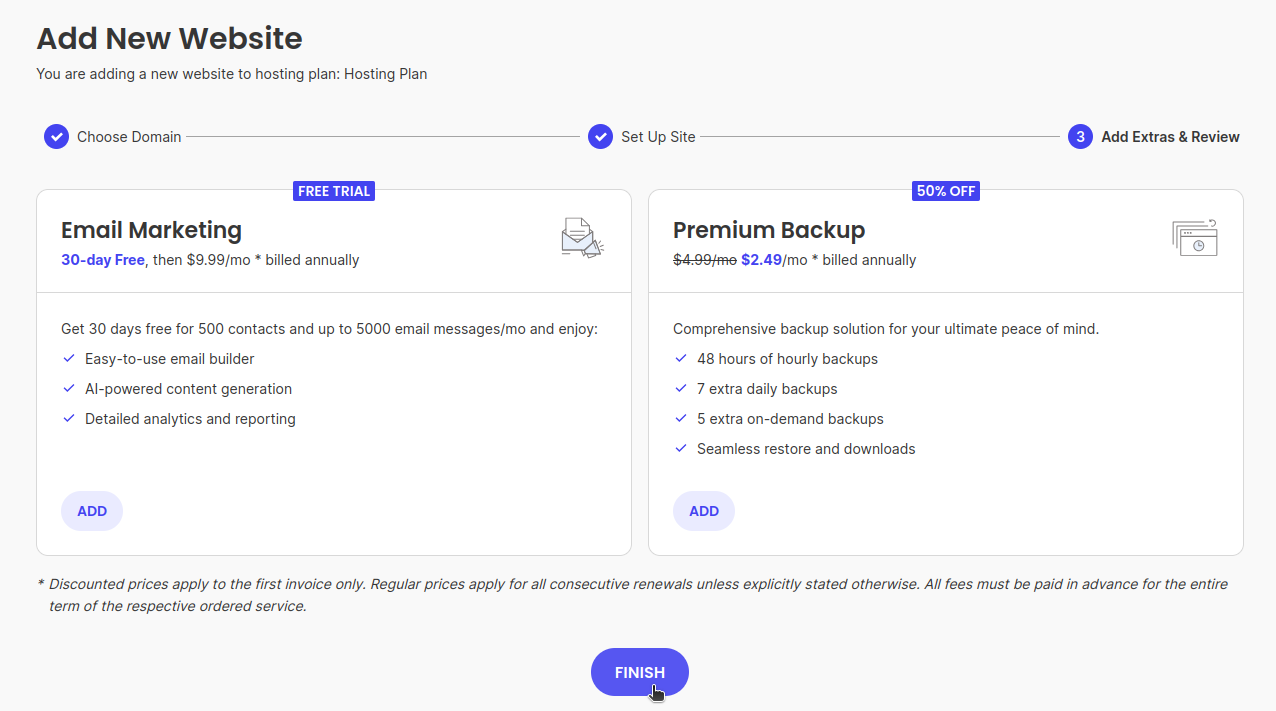
- Click ‘Finish’
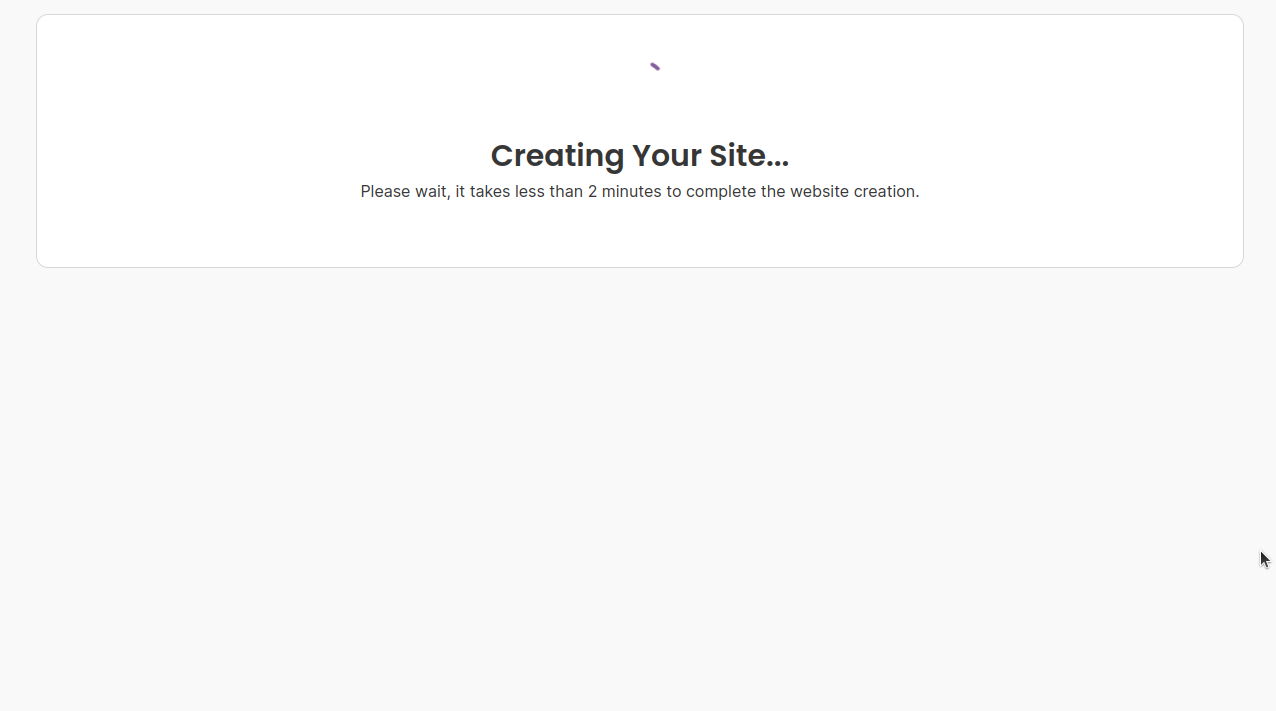
- You will see this screen as the request is processed
- Once processed, you will see this screen
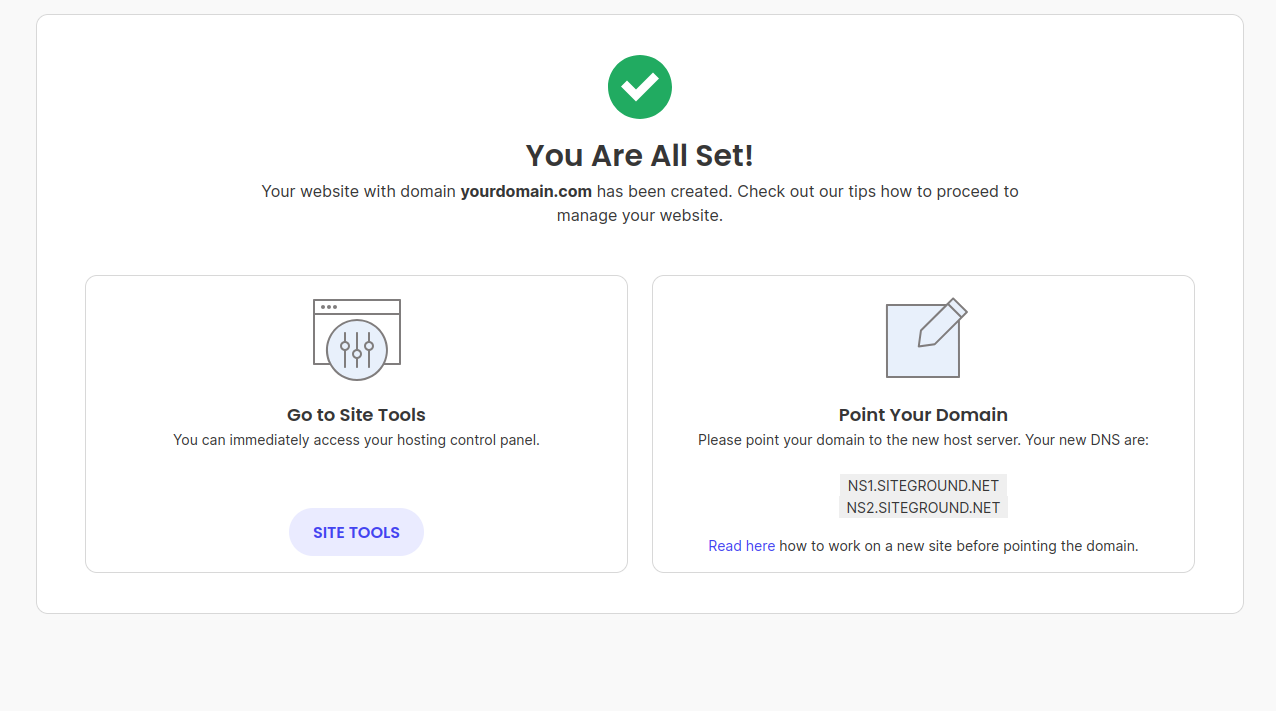
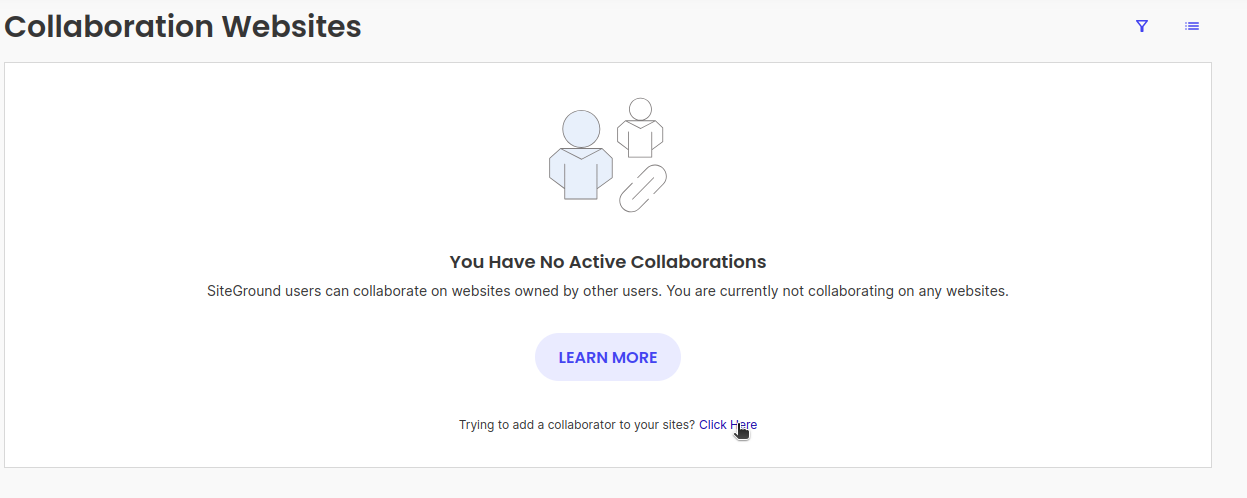
- From here, using the top navigation bar, click on ‘Websites’, and then ‘Collaborations’

- From this screen, click on ‘Click here’, to begin adding a delegate access account
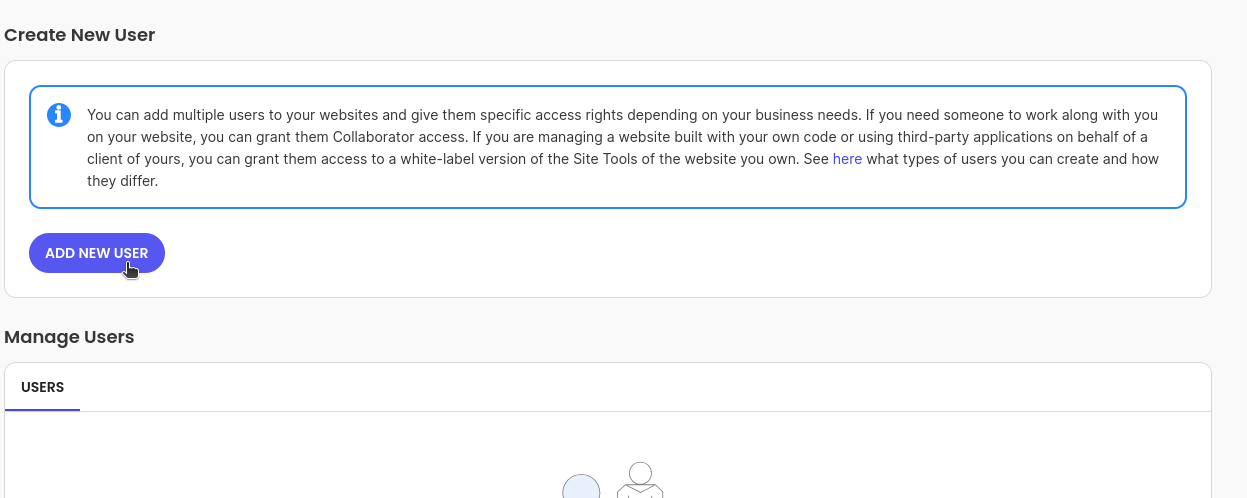
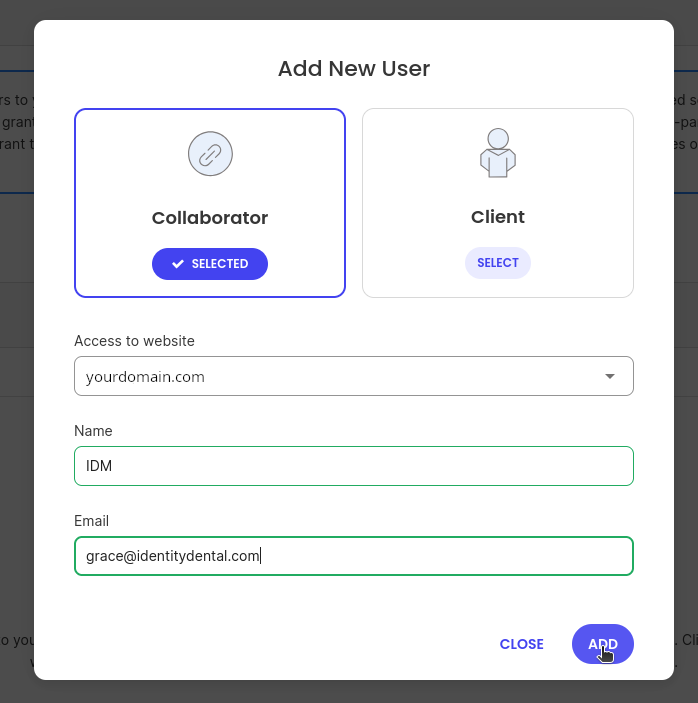
- Click on ‘Add New User’
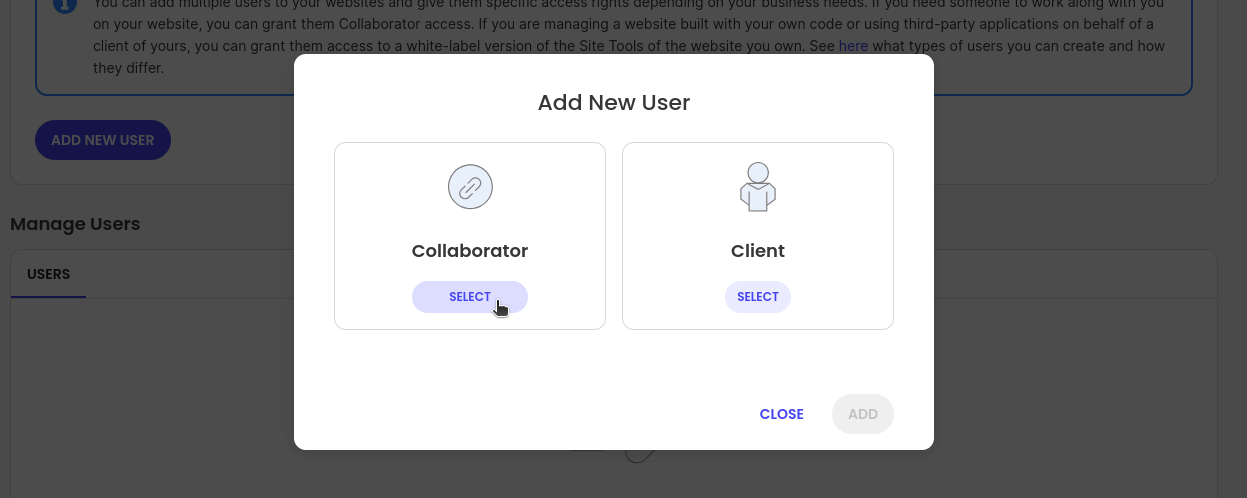
- Select ‘Collaborator’
- Ensure the ‘Access to website’ field has the correct domain selected, then enter the following into the ‘Name’ and ‘Email’ fields
-
Name: IDM
-
Email: grace@identitydental.com
-
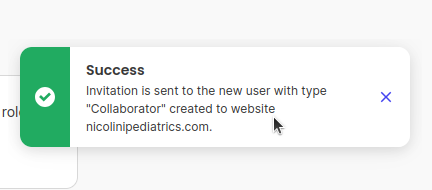
Lastly, you will see this small popup in the top right corner of the screen informing you that an access request has been sent. That’s it! We will handle the rest.
If you would like assistance, please call us between 10am - 12pm Central.